 by
by Push notification traffic is cheap, high-volume, and conversion-focused when you buy it right. Most networks require a rep, minimum spend, or a week-long approval process. Self-serve DSP platforms let you skip all that — upload creatives, launch campaigns, and adjust bids in minutes.
I’ve tested dozens of these platforms over the past four years, burned budgets on the wrong ones, and watched campaigns scale profitably on others. The difference between a good self-serve DSP and a mediocre one isn’t just interface design. It’s targeting depth, traffic quality, approval speed, and whether your dollar actually buys impressions from real subscribers or bot farms scraping your budget overnight.
Here’s what actually works. Not theory. Not affiliate listicles recycling the same five names. These are platforms I’ve bought push notification ads from myself, tested traffic quality, tracked conversions, and would recommend to someone spending their own money.
What Makes a Self-Serve DSP Worth Using for Push Traffic
Most DSPs claim self-serve functionality. Few deliver it. A truly self-serve platform lets you register, deposit funds, upload ads, and launch campaigns within an hour. No account manager handholding. No minimum deposits disguised as “premium access.” No mandatory KYC delays that take three business days.
The best ones combine instant activation with granular targeting. You should be able to filter by device type, OS version, browser, carrier, city-level geo, and even time-of-day delivery windows. Push notification subscribers behave differently at 9 AM versus 11 PM. A platform that can’t schedule delivery windows costs you conversions.
Traffic quality matters more than volume. I’ve run campaigns on platforms boasting 500 million subscribers where CTR sat at 0.02% and conversions were nonexistent. Then I’ve used smaller networks with 80 million subs where CTR hit 0.8% and CPA dropped 60%. Volume is vanity. Quality is revenue.
One more thing — approval speed. Some platforms flag every creative for “manual review” and take 12 hours to approve a simple CPA offer. Others use automated scans and approve clean creatives in under 10 minutes. When you’re testing 15 creatives across six geos, approval speed becomes your biggest operational bottleneck.
Step 1: Choose a Platform That Matches Your Traffic Type and Niche
Not all DSPs handle every vertical equally. Some excel at mainstream offers — e-commerce, sweepstakes, mobile apps, lead gen. Others quietly accept adult, crypto, gambling, and nutra campaigns that get rejected elsewhere.
Start by identifying your niche. If you’re running mainstream CPA offers (finance, health, dating), platforms like PropellerAds, RichAds, and Adsterra all work. They approve fast, traffic quality is decent, and you get solid targeting options. PropellerAds has one of the cleanest self-serve dashboards I’ve used — intuitive campaign setup, real-time bidding suggestions, and fast creative approval.
If you’re buying traffic for crypto, gambling, or adult offers, you need platforms built for edge niches. Adcash and Adsterra both accept these verticals without the “policy review” runaround. I’ve run crypto app install campaigns on Adcash and had creatives approved in under 20 minutes. No questions. No compliance emails. Just live traffic.
For mobile app installs specifically, look at platforms with CPI optimization and in-app event tracking. RichAds and Zeropark both support deep linking and postback URLs, which means you can optimize beyond the install and track in-app actions like registration or first purchase.
Avoid platforms that force you into managed service the moment you mention your budget. If a DSP requires a “strategy call” before letting you deposit $500, walk away. That’s not self-serve. That’s a sales funnel disguised as a platform.
Step 2: Set Up Your Campaign with Granular Targeting from Day One
Broad targeting burns budgets. I learned this the hard way on my first push campaign in 2022. I selected “Tier 1 traffic, all devices, all OS” and wondered why my CPA was $18 when the offer paid $12. The traffic wasn’t bad. My targeting was lazy.
Start narrow. Pick one country. One device type (Android or iOS, not both). One OS version range. Test that combination first. Once you identify what converts, scale into adjacent segments.
Here’s what granular targeting looks like in practice. Let’s say you’re promoting a finance app. Start with US traffic, Android devices, OS version 11+, Chrome browser, WiFi connection only. That’s specific enough to give you clean data without fragmenting your budget across 50 micro-segments.
Most self-serve DSPs let you exclude placements manually. Use this feature. After the first 500 clicks, export your placement report and blacklist any site ID or app ID with CTR above 2% and zero conversions. That’s bot traffic. Cut it immediately.
Frequency capping is underrated. Push subscribers see your ad multiple times if you don’t cap impressions per user. Set a limit of 1-2 impressions per user per day. Beyond that, you’re paying for ad fatigue, not reach.
Dayparting also matters. Run your first campaign 24/7 to gather baseline data. After 1,000 clicks, check your conversion report by hour. If 80% of your conversions happen between 6 PM and midnight, pause delivery for the other 18 hours. You’ll cut wasted spend by 40% overnight.
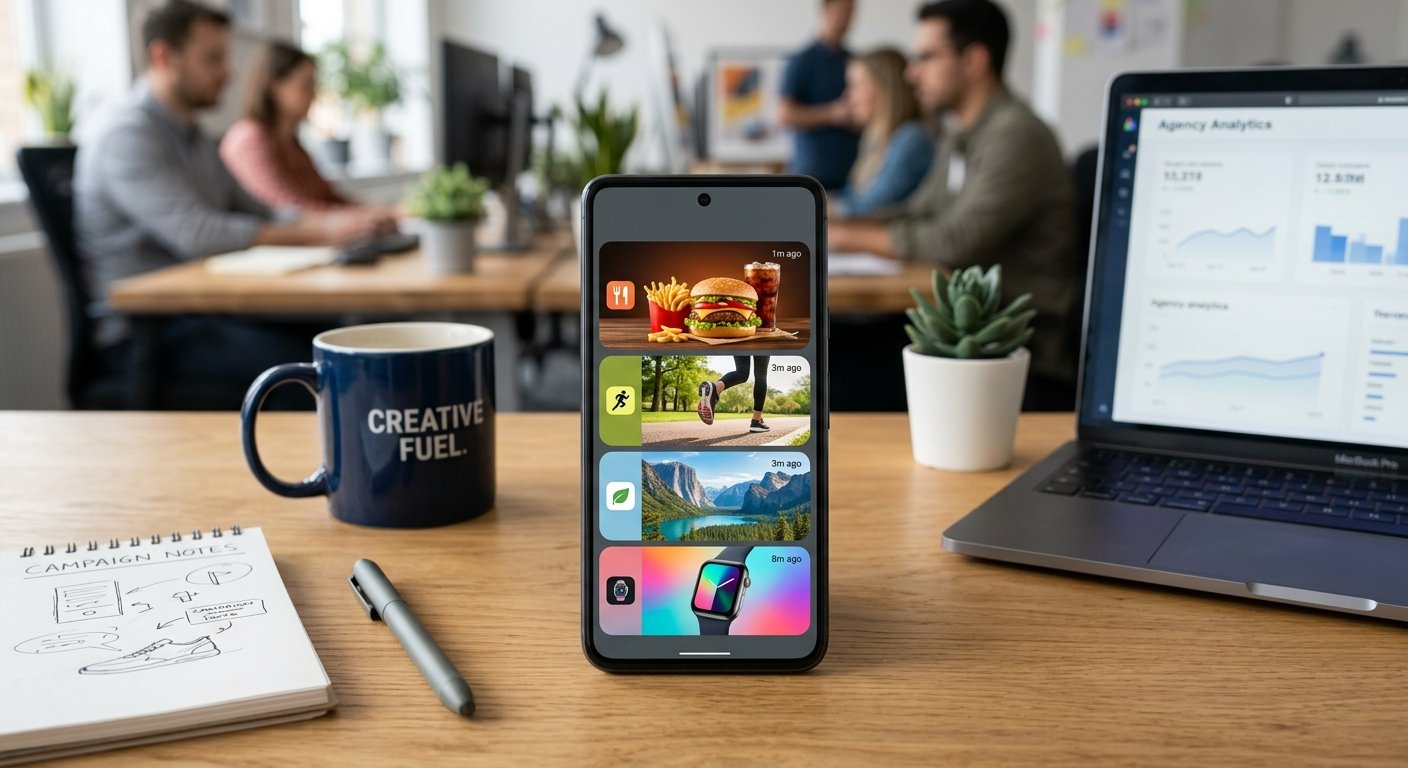
Step 3: Upload Creatives That Match Push Format Constraints and Subscriber Expectations
Push ads are not banner ads. They’re notifications. That changes everything about how you write them.
Most platforms enforce strict creative specs: headline 30-50 characters, description 90-120 characters, one image 192×192 or 360×240 pixels, one icon 192×192 pixels. Stay within those limits. An oversized image gets auto-cropped and looks terrible on mobile.
The headline must create curiosity or urgency without sounding spammy. Bad headline: “Click Here for Exclusive Offer!” That’s generic. Nobody clicks. Good headline: “Your $50 bonus expires in 3 hours.” Specific. Time-bound. Clear benefit.
Avoid clickbait that doesn’t match the landing page. I’ve tested “You won’t believe what happened next” style headlines. CTR was high. Conversion rate was 0.1%. Why? Because the landing page didn’t deliver what the headline implied. Google calls this “ad scent.” If your headline promises a bonus and your landing page asks for a credit card before mentioning it, you’ve broken ad scent. Conversions tank.
Use real images, not stock photos with watermarks. Push subscribers have seen the same five stock photos a thousand times. If you’re promoting a mobile app, use an actual screenshot from the app. If it’s an e-commerce offer, show the product. Clear, bright, recognizable.
Test 3-5 creatives per campaign from the start. Don’t obsess over which one will win. Just get them live. After 500 impressions per creative, pause the worst performer. Let the best two keep running. Repeat every 48 hours. That’s iterative creative testing, and it beats guessing.
Step 4: Start with Manual CPC Bidding and Switch to Auto-Optimization Once You Have Conversion Data
Every DSP offers auto-bidding. Most beginners enable it immediately and wonder why they spent $300 in six hours with two conversions. Auto-bidding works only when the algorithm has conversion data to optimize toward. On day one, you have zero data. Manual bidding is safer.
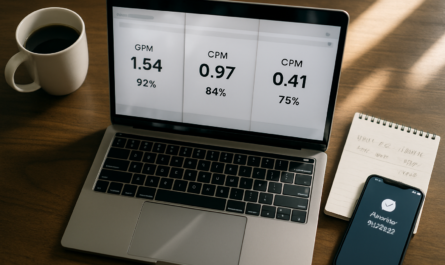
Check the platform’s recommended bid range for your geo and device type. Start at the low end. If the suggested CPC is $0.008-$0.015, bid $0.009. You’ll get slower traffic, but you won’t blow your budget before learning what converts.
Monitor your CTR. If it’s below 0.3% after 1,000 impressions, your creative is weak. If it’s above 1% but conversions are zero after 500 clicks, your landing page is the problem. If CTR is 0.5-0.8% and you’re getting conversions, you’re in the sweet spot. That’s when you can increase bids to scale volume.
Once you have 15-20 conversions tracked, switch to auto-bidding with a target CPA. Set your target 20% below your break-even CPA. If your offer pays $10 and you can afford to pay $7 per conversion, set your target CPA to $5.50. The algorithm will optimize delivery toward placements and users most likely to convert at that cost.
Some platforms call this “CPA goal” bidding. Others call it “smart bidding” or “conversion optimizer.” Same concept. Let the DSM shift bids in real-time based on conversion probability. Just don’t enable it too early. Without data, the algorithm guesses, and guesses cost money.
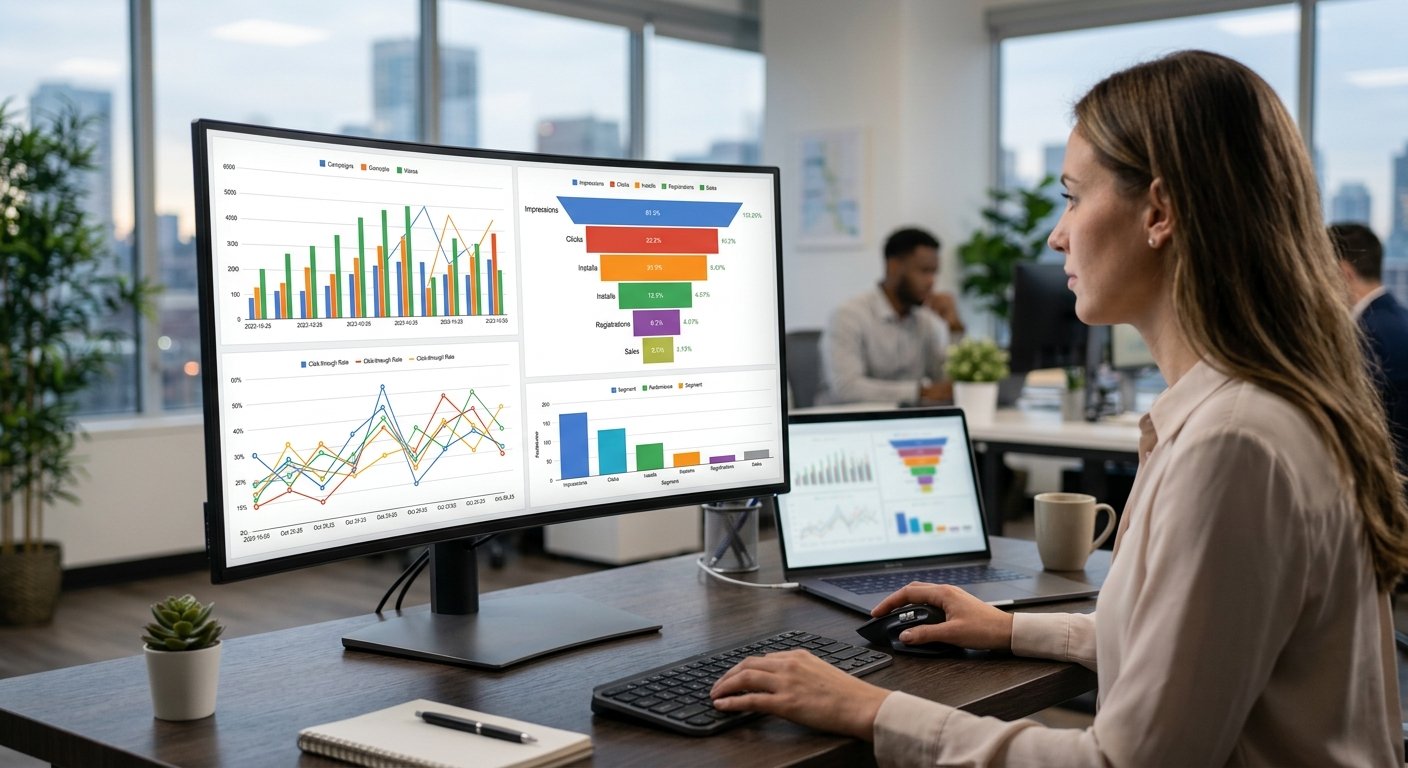
Step 5: Track Conversions with Postback URLs and Optimize Based on Real CPA, Not CTR
High CTR means nothing if conversions don’t follow. I’ve run campaigns with 0.9% CTR and $25 CPA when the offer paid $8. I’ve also run campaigns with 0.4% CTR and $4 CPA on the same offer. CTR is a vanity metric. CPA is your profit signal.
Set up postback tracking from day one. Every serious DSP supports S2S (server-to-server) postbacks. Get the postback URL from your affiliate network or tracking tool, insert your click ID token, and paste it into the DSP’s conversion tracking settings. Now every conversion fires a postback and attributes it to the correct campaign, placement, and creative.
If you’re using a third-party tracker like Voluum, RedTrack, or Binom, set up your tracking link as the destination URL. The tracker captures the click, redirects to your landing page or offer, and fires the postback when a conversion happens. This setup gives you full visibility into what’s working.
Check your CPA by placement after 500 conversions. Some placements will have CPA 3x higher than others. Pause the worst 20% of placements. Reallocate that budget to the top 20%. That’s how you scale profitably without simply increasing daily budget and hoping.
Run A/B tests on your landing page if CPA is stuck. I’ve seen identical traffic sources produce $12 CPA with one landing page and $6 CPA with another. The offer was the same. The difference was headline copy and CTA button color. Small changes, big impact.
Step 6: Scale Profitable Campaigns by Expanding Geos and Duplicating Winning Setups
Once you’ve found a combination that converts at an acceptable CPA, don’t just increase daily budget on that one campaign. Duplicate it. Launch the same setup in adjacent geos with similar user behavior.
If your US campaign converts at $5 CPA, test Canada, UK, and Australia next. These are Tier 1 English-speaking markets with similar consumer behavior. Traffic volume is lower, but CPA often stays close.
If Tier 1 traffic gets too expensive, test Tier 2 geos with the same creative and landing page. India, Brazil, Mexico, and Philippines often deliver 40-60% lower CPA with higher volume. Conversion quality can vary, so track backend metrics (trial-to-paid, chargeback rate, LTV) if you’re running subscription offers.
Duplicate your best-performing campaign with identical settings and increase the daily budget by 50%. Monitor CPA for the first 24 hours. If it stays within 20% of your original campaign, you’re scaling profitably. If CPA jumps 50%, you’ve hit the ceiling for that placement pool. Scale horizontally into new geos instead.
Launch new campaigns during different dayparts. If your original campaign runs 6 PM-midnight, duplicate it for 9 AM-3 PM and see if a different audience converts. Push subscribers who engage in the evening are often leisure browsers. Morning subscribers might be work-from-home users with higher purchasing intent.
Frequently Asked Questions
What is the minimum budget needed to test push notification traffic on a self-serve DSP?
Start with $200-$300 per geo. That’s enough to run 3-5 creatives, gather 1,500-2,000 clicks, and identify whether your offer converts on push traffic. Going below $100 fragments your data across too many variables and makes optimization impossible. You need volume to separate signal from noise.
Can I run affiliate offers directly or do I need a landing page?
You can direct link on most self-serve DSPs, but conversion rates are typically 30-50% lower than using a pre-landing page. A simple VSL, quiz, or advertorial between the push ad and the offer warms up the traffic and improves conversion rate. Test both. Sometimes direct linking works fine for low-friction offers like app installs or sweepstakes.
How do I avoid bot traffic on self-serve push notification platforms?
Check for platforms with anti-fraud filters and real-time traffic quality scoring. Blacklist placements with abnormally high CTR and zero conversions. Use frequency capping to prevent the same user from seeing your ad 50 times in an hour. Avoid platforms that don’t publish placement IDs or let you exclude sources. Transparency equals accountability.
What are the best verticals for push notification advertising in 2026?
Sweepstakes, mobile apps, e-commerce flash sales, crypto sign-ups, sports betting, dating, finance lead gen, and nutraceuticals. Push traffic works best for impulse offers and high-urgency campaigns. Avoid complex B2B services or anything requiring long consideration cycles. Push subscribers make fast decisions, not researched purchases.
Start Testing Self-Serve DSPs This Week
Push notification traffic is one of the last arbitrage plays left in 2026. It’s cheap, scalable, and still converts when you buy it from the right platforms with the right targeting. Self-serve DSPs give you control, speed, and cost efficiency that managed campaigns can’t match.
AdNetworksReview.com has tested every platform mentioned here with real campaigns, real budgets, and real conversion data. We track approval times, traffic quality, and whether these DSPs deliver what they promise. No affiliate bias. No fake screenshots. Just honest reviews from someone who’s bought the traffic.
Pick one platform. Set up one campaign this week. Test three creatives. Track your CPA. Optimize or kill based on data, not hope. That’s how you turn push traffic into profit.
Meta Title: Self-Serve DSP Platforms Push Notifications: Best Picks 2026
Meta Description: Tested guide to self-serve DSP platforms for buying push notification traffic. Real campaigns, targeting tips, and platforms that actually convert in 2026.
Primary Keyword: self-serve DSP platforms push notifications
Secondary Keywords: push notification advertising platforms, buy push ads programmatic, DSP mobile push traffic, self-serve ad platforms push